
Not so long ago, I took an old, spent blackboard out of my kitchen and resurfaced it. I hung a mug rack in its place, so it was time to hang the blackboard in a new location. Hanging heavy and practical things, as well as hanging picture frames, has become old-hat to me, but it wasn’t always so. It still requires some effort, especially when you have two points of contact for hanging. So since I made a basic tutorial for Instagram when I first did it, here’s a detailed DIY about how to hang stuff.
Concrete walls are outside of the scope of this DIY, but you can still hang art on a concrete wall with the right kind of hanger, or by using a hammer-drill with a masonry bit to mount anchor screws.
Stuff you should know:
Drywall has a weight-bearing capacity of up to 20 lbs, depending on how close it is to the nearest stud. So if you’re hanging a regular picture frame or art, just go ahead and use picture nails or those sharp-J-shaped picture hooks (and hide them behind the frame! Having them visible above the frame looks like merde, don’t do it!). For larger paintings with a hanging wire, use two hooks, left and right at a gap – you’ll still be able to adjust the hang angle, only it’ll be less likely to go askew.
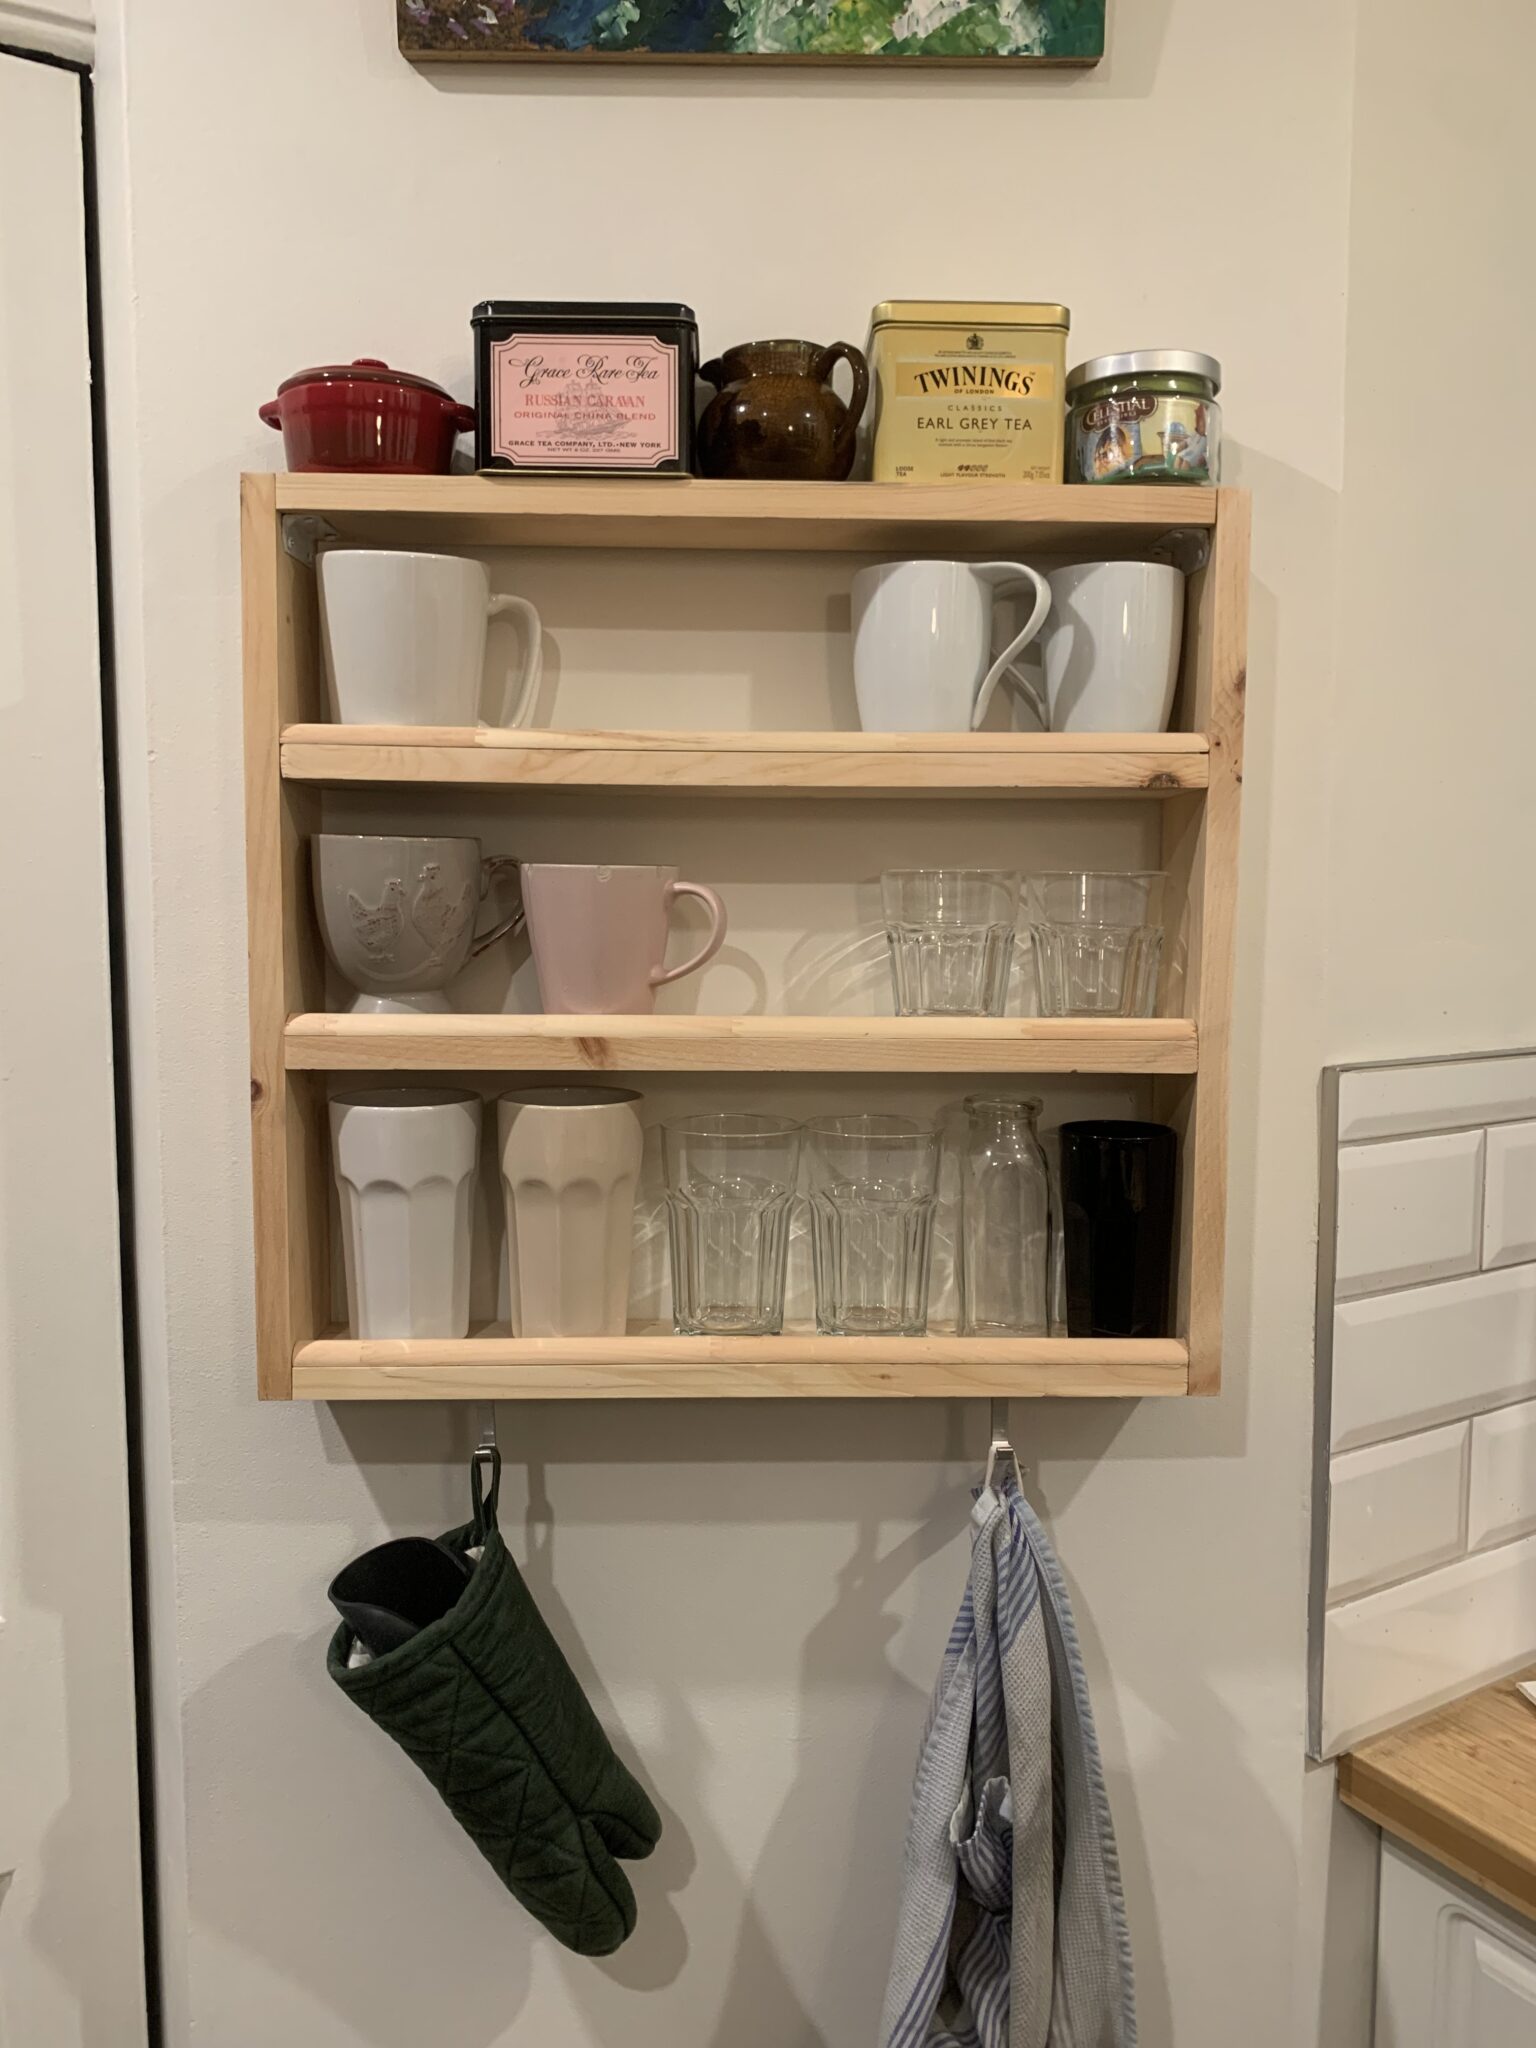
If you know or estimate that the thing you want to hang is at least 10 lbs, use drywall anchors, whether it’s a one-point hang or a two-point hang. Each anchor can bear up to 50 lbs in drywall. The best mounted hanger I’ve found for the object side (the thing that you hang onto the anchored screw!) is a D-ring, mounted on both left and right sides. You fix the metal flap to your object, and hang it from the ‘D.’ I used this for my cup shelf (in this blog post). The mount is actually at the top of the frame, and not behind the frame. If it were behind the frame, it would tip it ever so slightly forward. This doesn’t matter, though, with a mirror or a big work of art.
Lastly, if you locate a stud, you’re gold. You don’t need an anchor, and you don’t need to worry about the weight (within reason; cabinets require what’s called a French cleat, or at the very least all points anchored to the studs behind them).
Easy picture hanging technique
This is easy because it only requires YOU! No friends required. Oh, and a bit of Fun-Tak (wall tack for hanging posters), or putty (including DryDex), or even a bit of chewing gum.
If the hanger on the back of your picture has teeth (/\/\/\/\/\), use a picture nail. This is smooth brass nail that comes in a picture hanging kit. If you don’t have this, then use a small nail with a head on it, i.e. not a finishing nail. (You can use a finishing nail for a calendar, because you have to turn the pages.)
If the hanger on the back of the frame looks like a keyhole slot, use a picture nail or a nail with a large head.
If the hanger is a wire, use a hook hanger.
- Take the picture you want to hang, ball up a bit of tack, and stick it to the hanger on the back of the picture frame (even if that’s the centre-point where the frame wire would hang from the nail).
- Lightly place the picture on the wall around eye-level, and figure out the exact place you want it.
- Press on the point of the picture where the ball of tack would be, so that the tack sticks to the wall.
- If it’s a canvas frame, you’ll have to put your hand under the picture and feel your way to that point to stick it.
- Take the picture away. Place and drive the hanging nail into that point such that the hook part meets where the tack is. Peel the tack away.


Basic mounting technique
To figure out where to sink the hanging nail or screw, you can
- measure from the ceiling to the top of what you want to hang, or
- measure to the bottom of it from the floor
If, in this location, both the ceiling and the floor are sloped or stepped, you must use your judgment and be OK with a bit of play between the height of the anchor you drive and the eventual height where it hangs. In my blackboard project, I wanted the top of the blackboard to align with the door frame. (Finished result here.)
In any case, you’ll need a second person to hold the object in place. (Measuring alone doesn’t place a picture.) Make a faint line in pencil for the top and maybe the bottom of the frame, depending on your situation.
Then, measure the distance from the top or bottom of the frame to where its hanger bar or divot or wire will make contact with the hook, nail, or screw (and anchor) that you put into the the wall. Mark that spot on the wall, and then drive your hardware in.

Two-point mounting
The manufacturer is almost guaranteed to have two divots/hangers at the correct height on both sides, but measure to double-check. You also must measure the distance between them so that you get it right on the wall!
Follow the above method for frame placement, in relation to the ceiling or the floor (or eye-level).

Use a spirit level (that little glass tube with an air bubble in it) to measure the levelness of the line between the two points, before you sink the hardware into them!

Remember, mistakes happen all the time when we’re making holes in drywall like this (if you really screw up, that’s what DryDex is for). If the nail or the screw drives in and misses the exact spot, or the angle of the nail/screw makes the picture seem a little akimbo, you can correct for this by wrapping a bit of masking tape, string, or a small rubber band around the lower of the two.


Leave a Reply