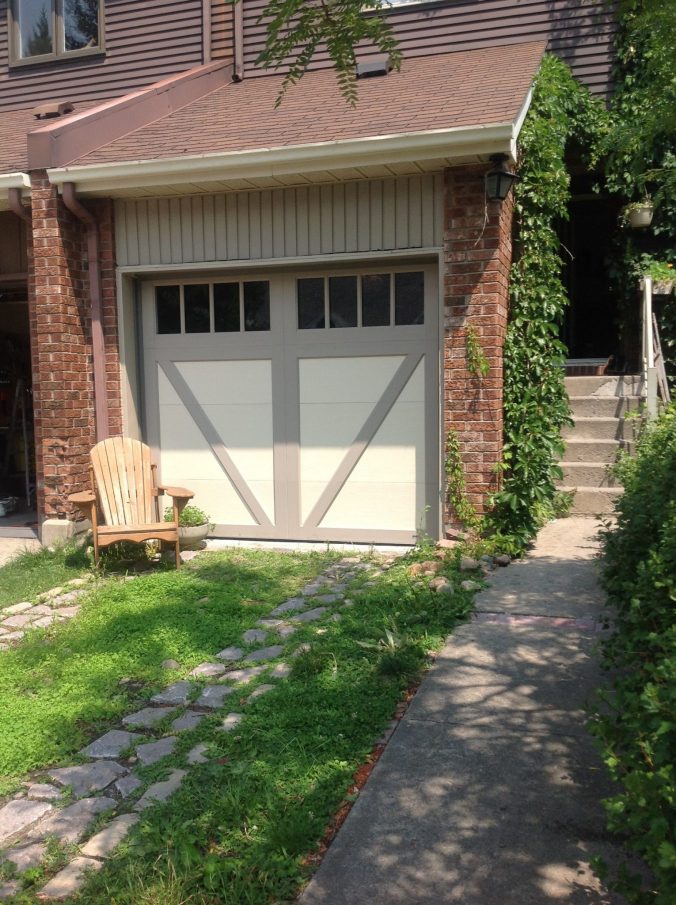
Well before the pandemic, I realized I was becoming a neighbourhood fixture, the person who sits on their front porch every day*, watching the world go by. I first started doing it outside, in an Adirondack (Muskoka) chair at what I called “1 Elation Way.”
* not every day, just often enough
I then moved the chair just indoors at the corner of the garage door, because I needed a tad more privacy while reading my books and papers and supervising the bunnies. (Also I was getting a bit too much sun, it’s not always pleasant to sit without shade.)
Since forever and anon, my garage looked like this:


Ta-da, it’s a garage! Messy, disorganized-looking, just a bit trashy unless you can do better (and I can).
It was already June of the pandemic when it occurred to me that this project was necessary, even overdue. I decided it called for some “Garden shed” inspiration, pulled from an image search and found on Pinterest:


Obviously the first order of business was to clear the space of everything I could do without for the time being. I put stuff out back to get it out of the way. Some materials I repurposed for the project. Some stuff I got rid of, and I even managed to sell those fugly Rubbermaid shelves (useful for other people, not for me!) you can see in Pic #4 of the Before pics above.
The work began in June, but I carried out the bulk of it over July and August. I started building stuff in the order of priority, and the first thing I did was apply repair cement to the foundations of the garage, which were pitted like the floor. I had to work quickly for that, but I did okay. At some point in the future, it would be nice to reapply concrete to the floor and polish it to a fine effect. One day.
Framing around the electrical boxes
What I most needed to do was cover up the power line coming into the house from an upright ground pipe in the garage. It was exposed from the wainscotting line up to the main switch box. To build in a wall here would set the scene for the rest of the decor. So I built a frame around everything, and started filling it in with plywood around the boxes, and spare planks over the rest:


I was very much on Instagram about how I did it. Of course I had the inspiration to paint the electric panels flat black. I looked around for more decorations to add to the space and you’ll see more of those in a bit.
At this point, I took a 2×4 bar of hooks that I’d been using elsewhere in the garage (it came with the house), and clamped it to the frame in the recess under the electric panels. This gave me a place to hang extension cords and the hedge trimmer and such. So, that worked out!
Plumbing:
Next up, the plumbing— because I had a tap at the back of the garage, but wanted a tap with my hose at the front, so I could go out and water the yard. That meant I would learn how to extend the pipes, using compression fittings.


I went a little nuts with taking videos of this process, but in short, I bought a Bernzomatic torch to remove the old tap, a pipe cutter to cut and fit the pipes as needed, and all the joints I needed (plus a new water cut-off valve at the very source). 2x4s with ½” holes drilled through served as “feet” to support the length of the pipe along the base of the garage wall, about 8″ up. I connected everything together, tested the fit, and tightened them all when the water ran smoothly without any jerks or spurts at the joints. It was actually really easy to do this!
Improving the storage
Next, I had an overhead rack in the garage to store my extension ladder and a bunch of other stuff, including lumber, and it felt a little crowded and oppressive (scroll up to see the Before pics, and you’ll agree). I came up with a tweak that would take one of the two braces and hang it from a ceiling support in an L-shape, thus clearing some room overhead. Technically, I could do this for both braces, but one of them is kinda handy there nonetheless.


(Also this pic was taken after painting the garage; read on below.)
Building a counter
I built a counter to go along the back wall of the garage, using an old camper-van sink and an antique tap (barely visible in the above pic). The support bar was already riveted to the wall, so I only had to add braces and make sure the counter would be level. Here’s the structure, for now:


Repairing the drywall
It was time to repair all the drywall gaps and the badly-done taping (the tape where the drywall slabs meet). If the tape is lifting, or bubbly and wrinkly, it’s badly done. You might have to tear it out of there and do it again.


I’d never done taping and this amount of drywall before, and it was easily the most frustrating part of the renovation so far. So much that I finally said “If that’s the best I can do, so be it! It’s good enough!”
With that, it was time to apply spackling to the dings in the walls (including a cut-out to see about installing a small window). The next stop would be to spray-paint everything.


Painting
Now, the painting was a very satisfying experience. A friend works at Benjamin Moore, and she borrowed a spray paint machine, free of charge, to get experience in how it works. I got a couple of gallons of paint in a missed-mix colour I’d find pleasant (but cheap, at $10 a can), and away we went…(see video)
To my surprise, after it was all painted, I could see that my drywall taping was so much better than what it had been. As you can surmise from this pic, it was actually an acceptable job!

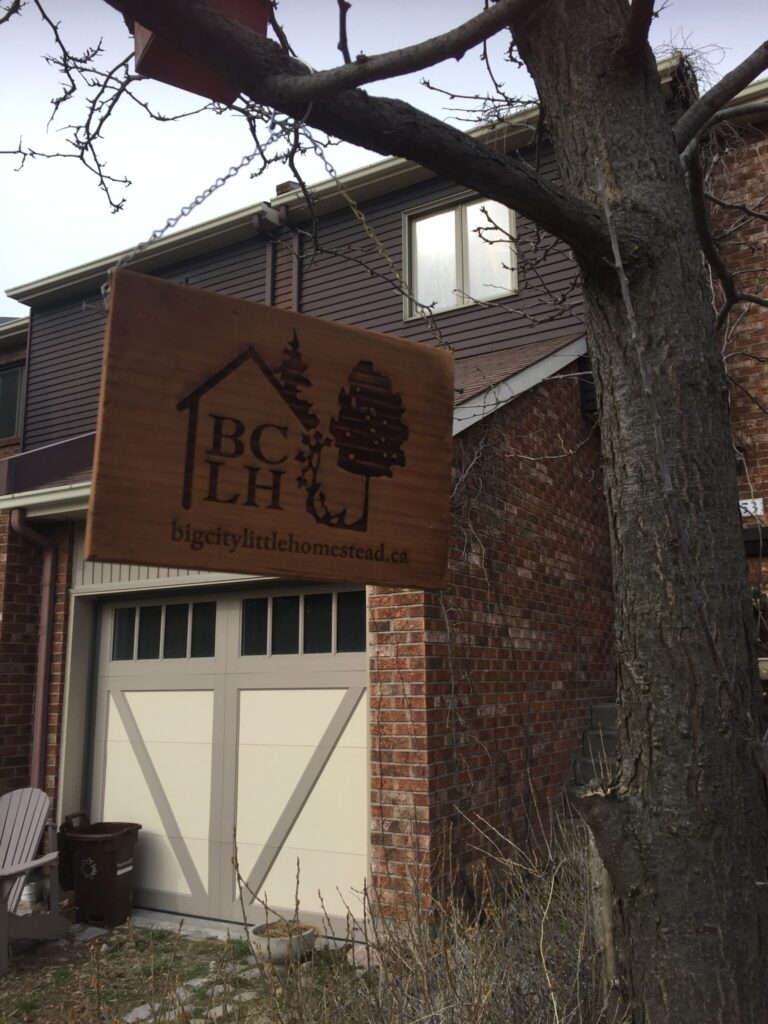
I added some more decorative elements in the garage, like using old tin roof tiles as wall decor on the cinderblock side, painting them (and the inside door to the house) copper. Since copper was a theme, I painted the lettering of the above sign, which I hung opposite my chair, so I see it when I’m sitting there.
Ready to reveal!

Just a few finishing touches before I could comfortably sit back down and watch the world go by:
- I made a pink lamé curtain and strung it with a cord, to hide the tools hanging behind the chair
- An indoor/outdoor thermometer, theme: horses
- A ratty old rug under the chair
- A big chunk of tree to use as a side-table
- A framed needlepoint of a squirrel (not shown)
- And finally, my cowboy hat, which fit perfectly over the electric meter.
I also put back the box bench with the privacy screen you can see in Pic #6 of my Before pictures. It actually works; I can sit there and people don’t always know I’m there.
I’m now ready for more years of porch-sitting entertainment, a place to drink a beer in the fresh air, relax and read a book, and supervise the bunnies.
Thank you for reading all the way to the end of a thoroughly satisfying project!